Many writers need a detailed visualization to get a complete picture of the story in their head. Story Architect's character photo feature will help you get a better feel for your characters and keep them in front of your eyes at all times.
If you don't have Story Architect app yet or downloaded it a second ago, read the instructions. Briefly: go to the download page, go through the standard program installation procedure and create a project inside. A step by step guide to getting to know Story Architect is here.
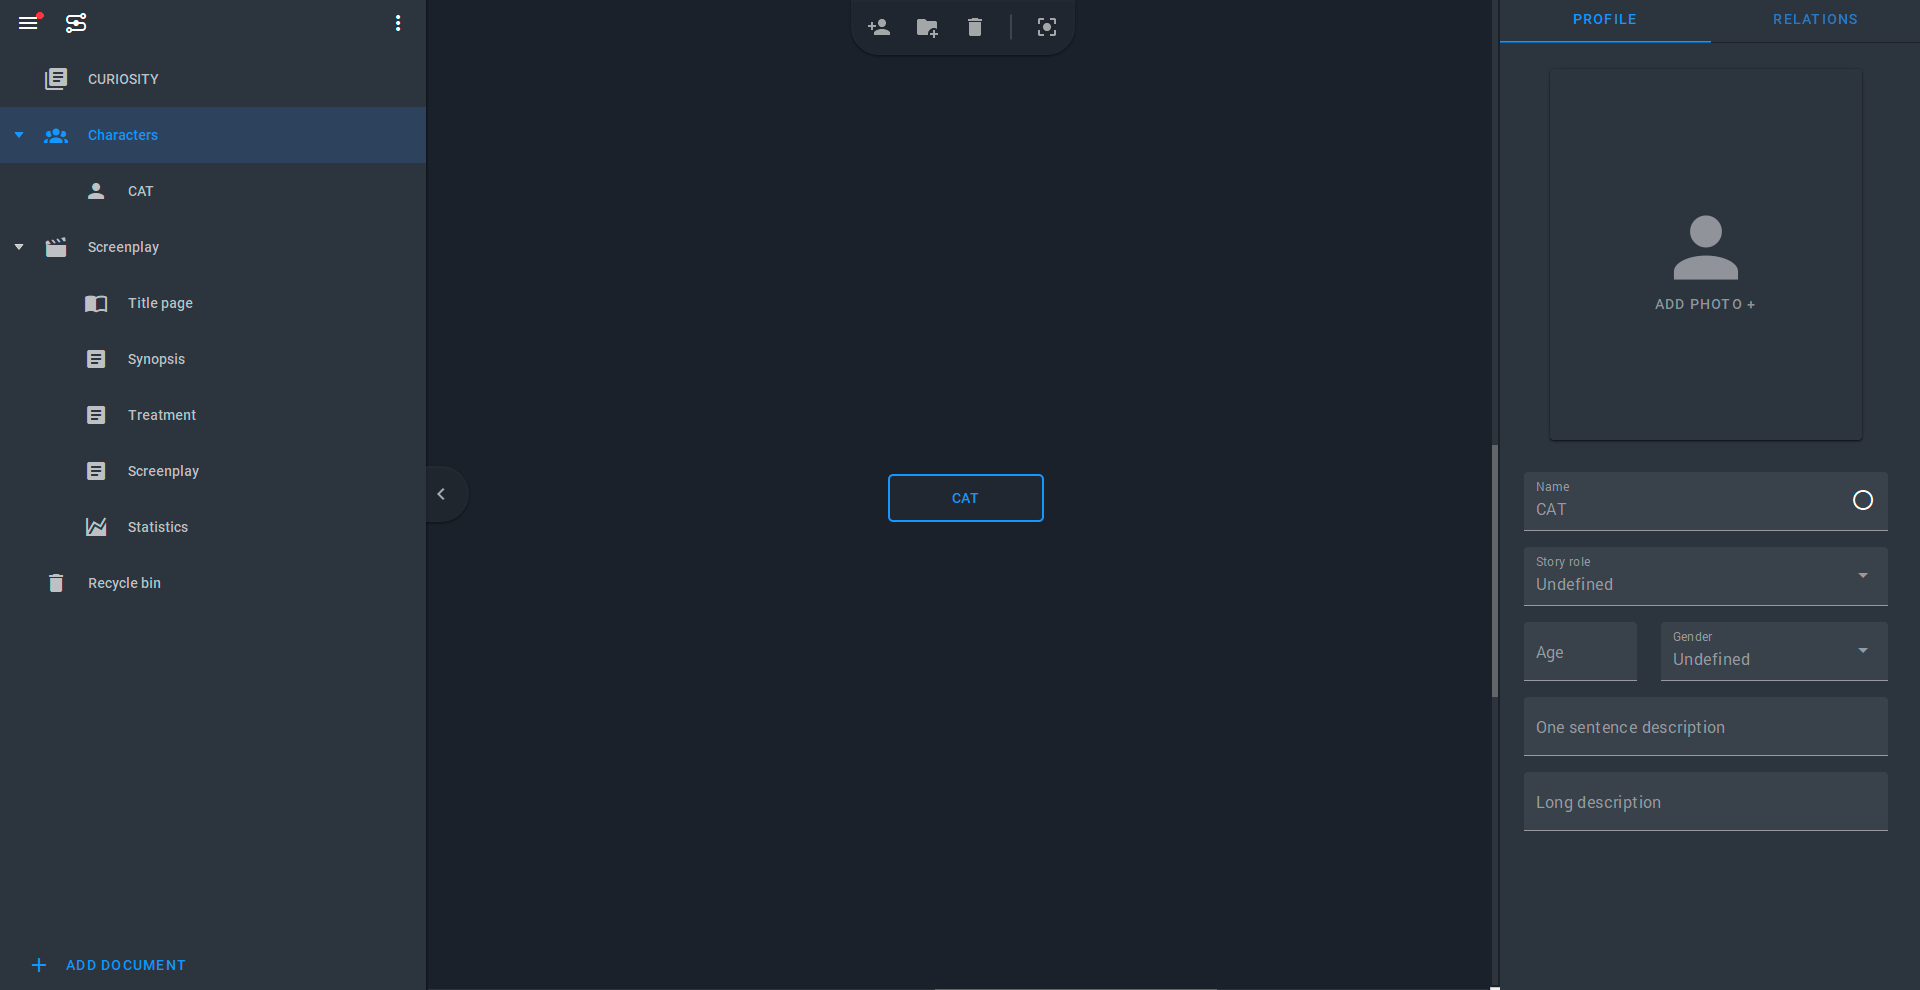
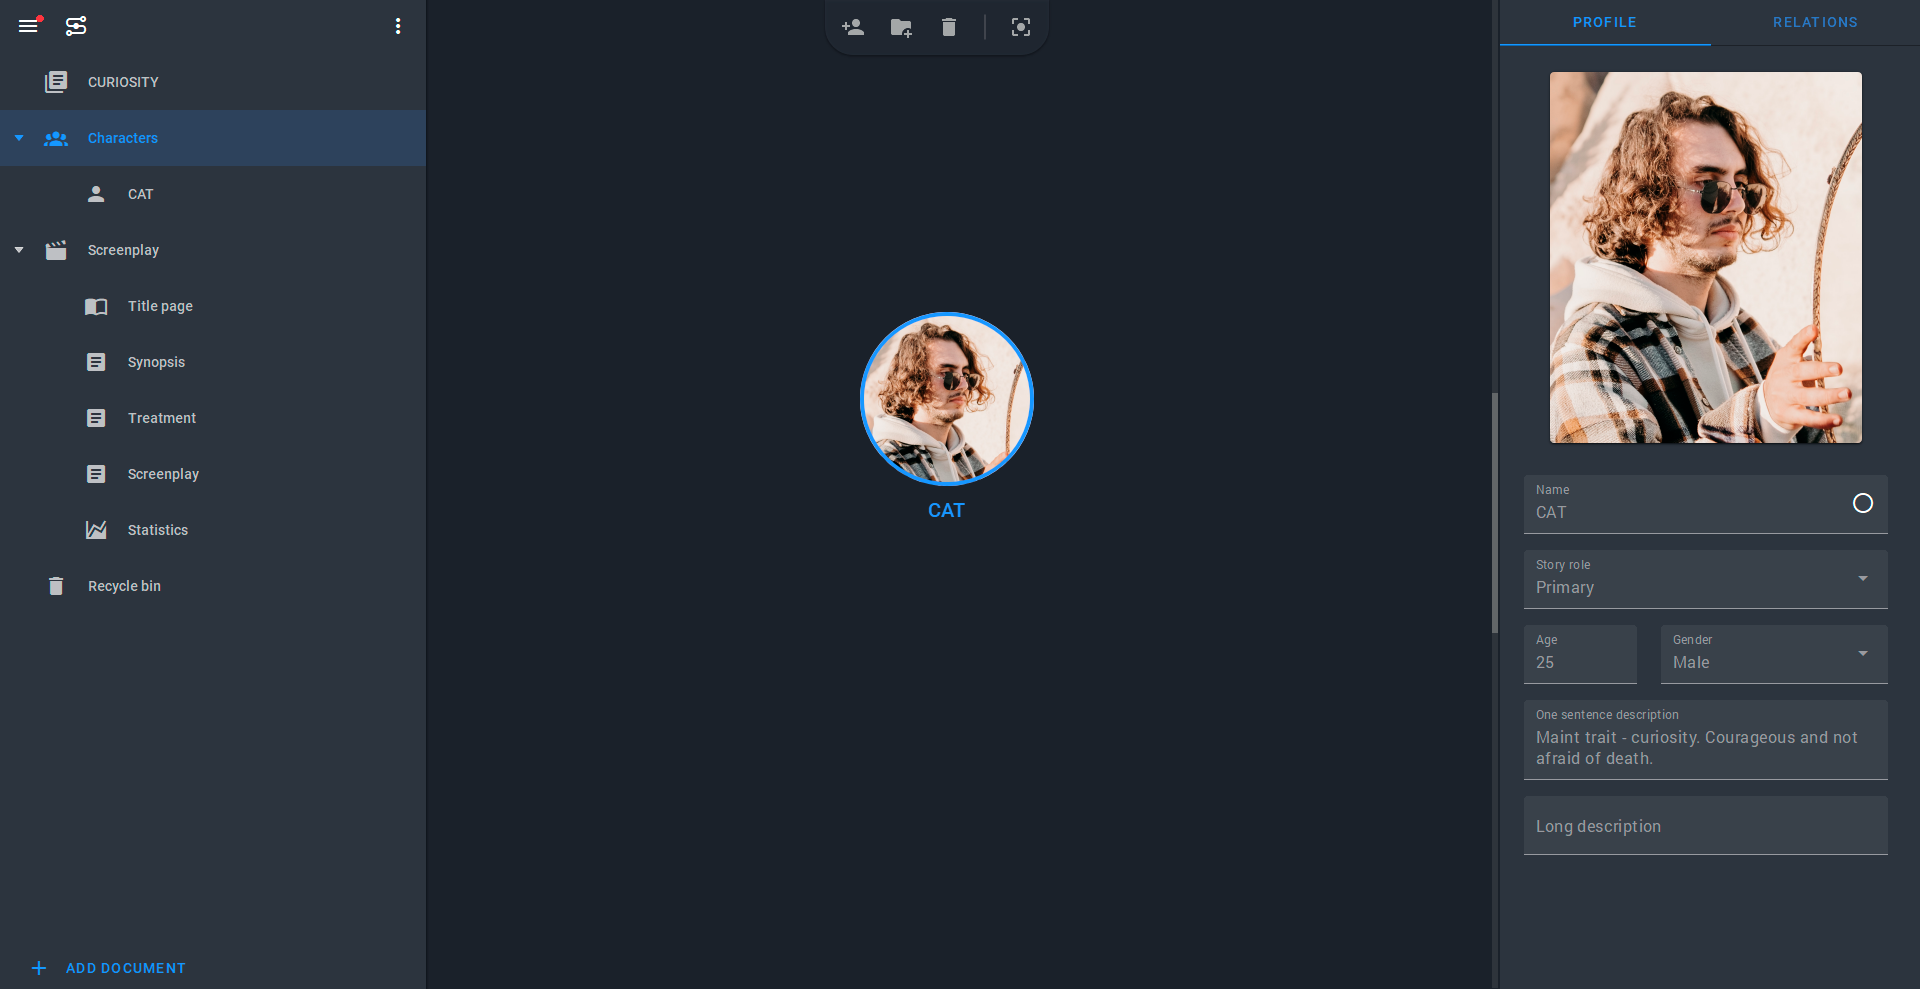
Let's start with the exact spot where you can create or change a character’s photo. Option 1: in the map of relationships. To get there, go to your STARC project and click on the "Characters" tab in the menu on the left. Here, when you click on the name you want, a panel of basic data settings will appear on the right.
Option 2: find the name of the character in the same menu on the left, under the "Characters" tab. Clicking on it takes you to the detailed character profile.
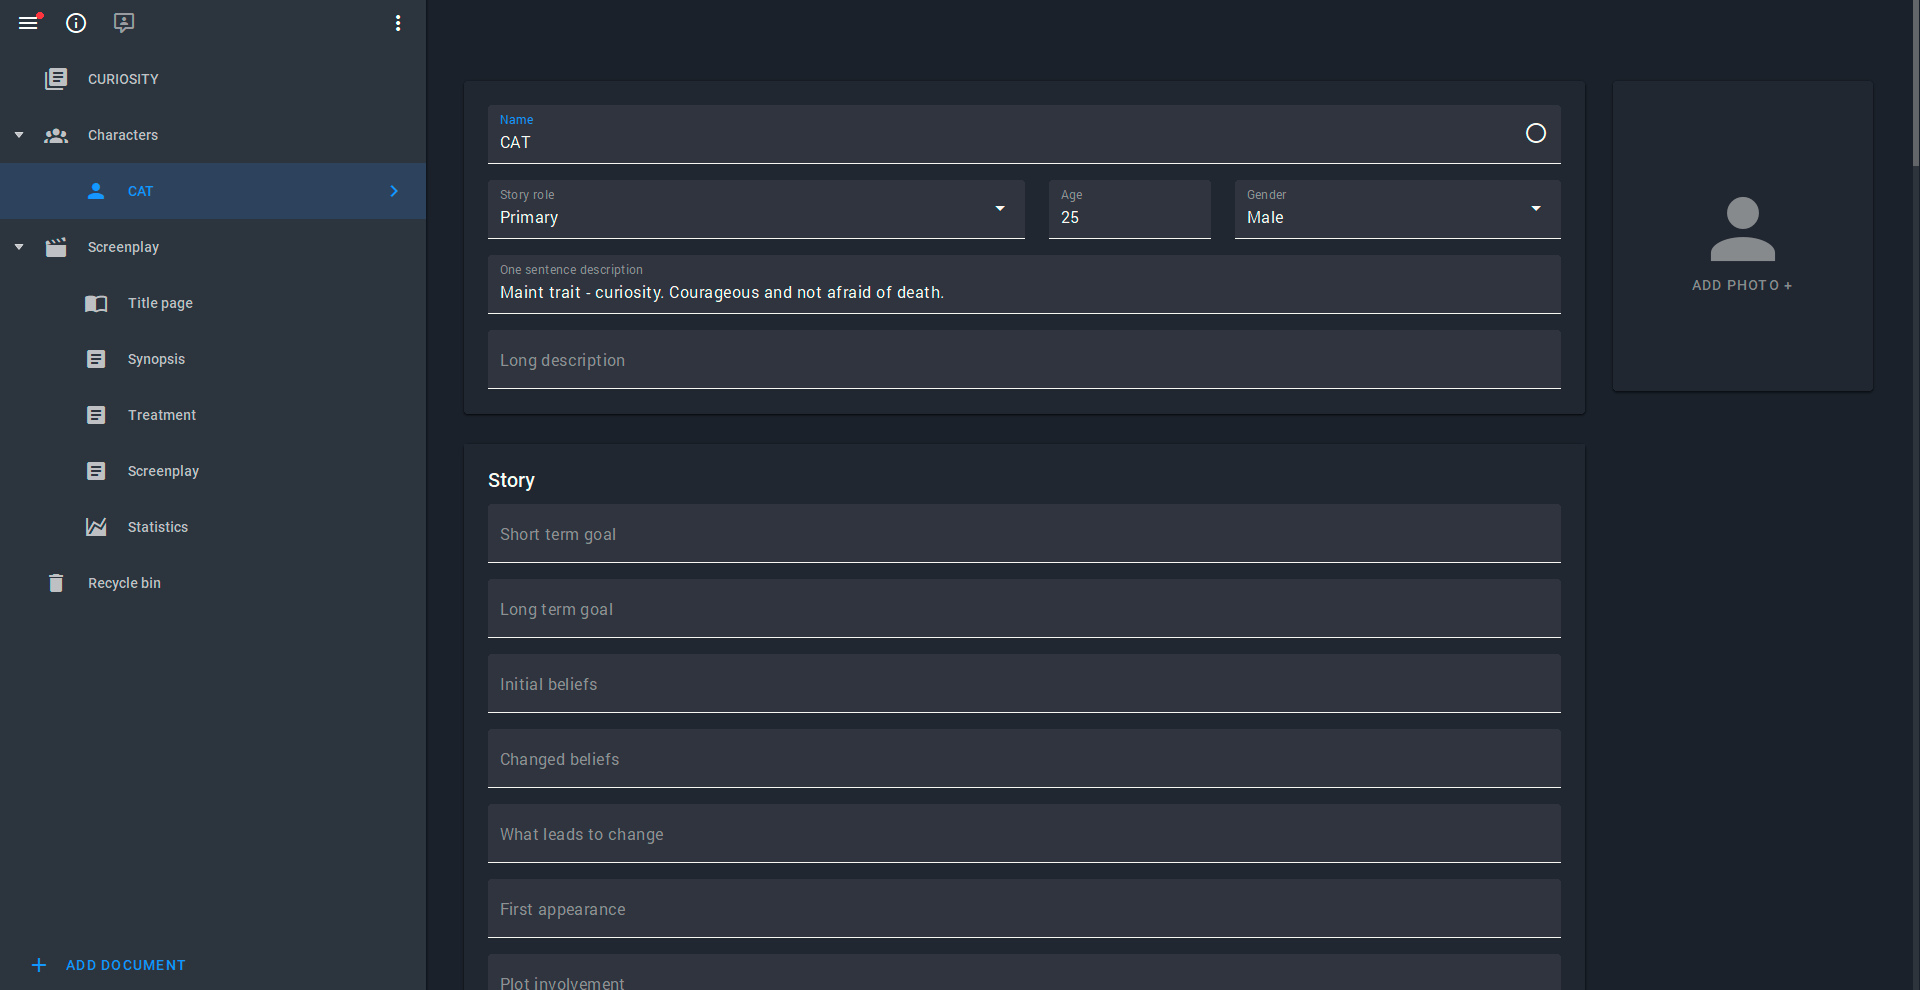
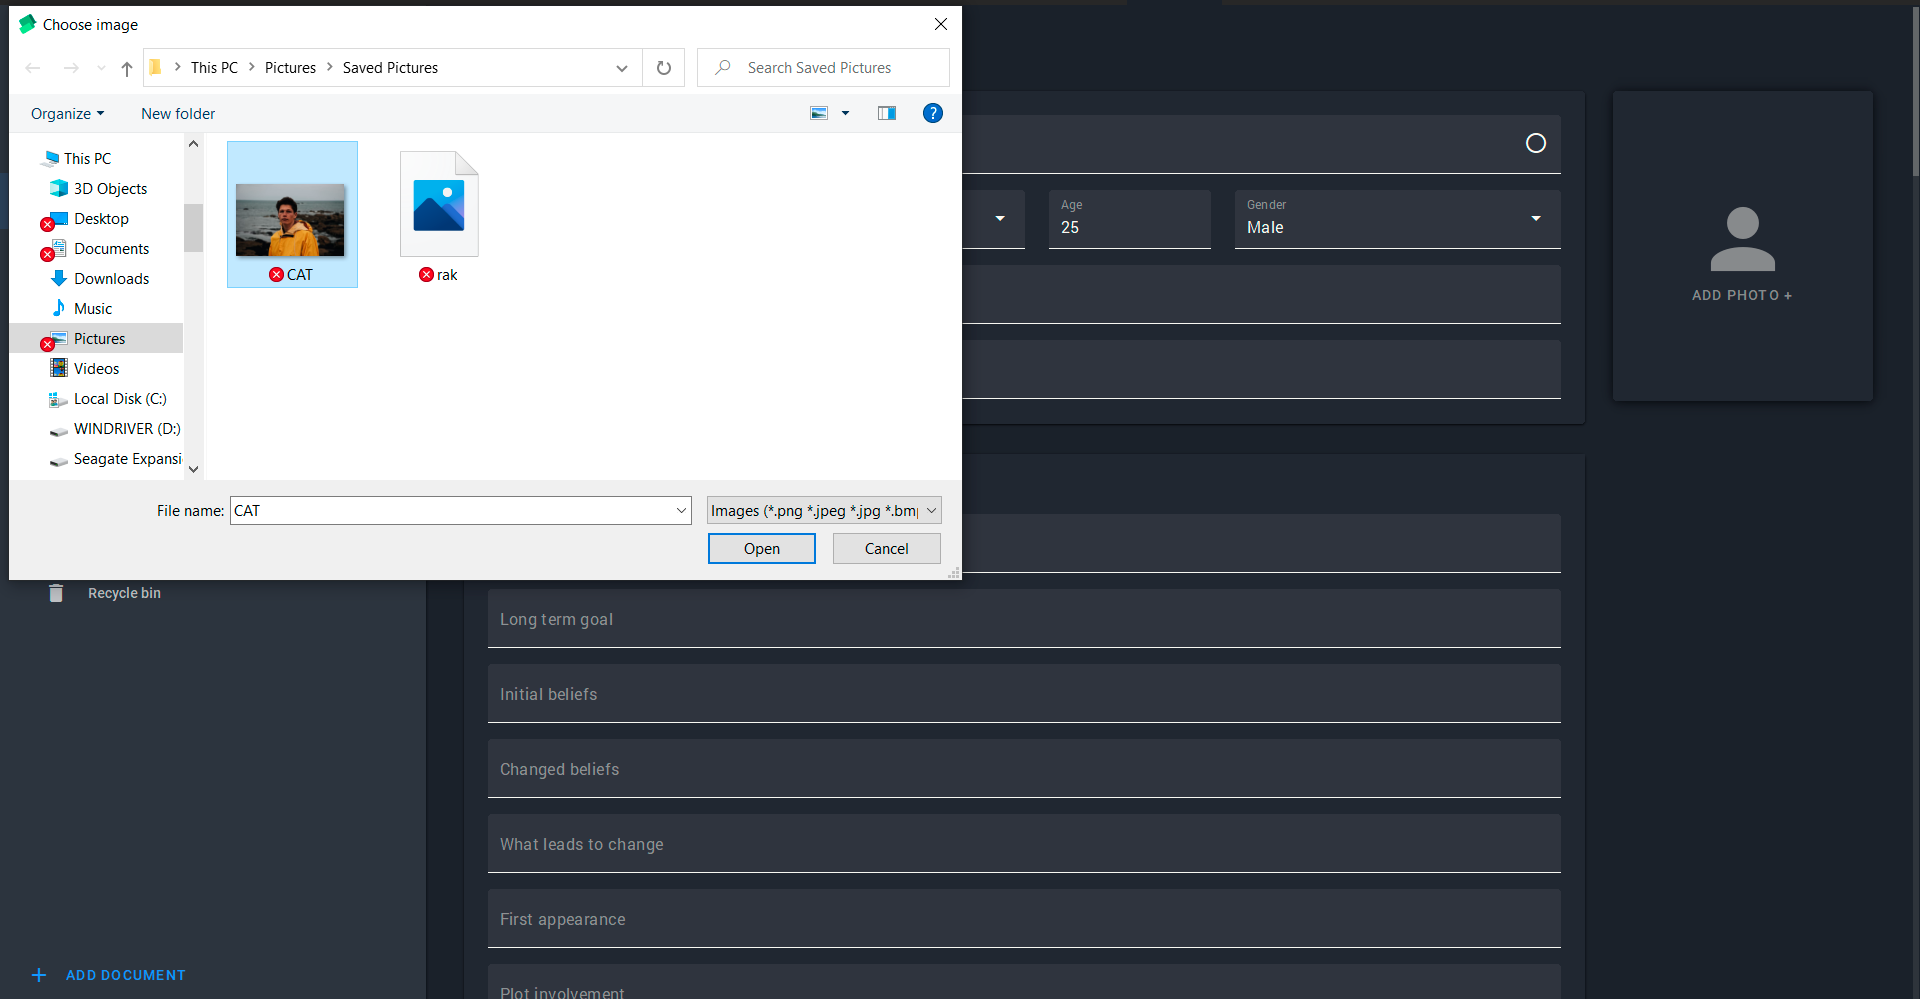
Whichever option we choose, we see the "Add Photo +" window which is located on the right. There are three ways to add a picture to the program. Let's start with the first and easiest one: click on the window and choose one of the images saved on your computer.
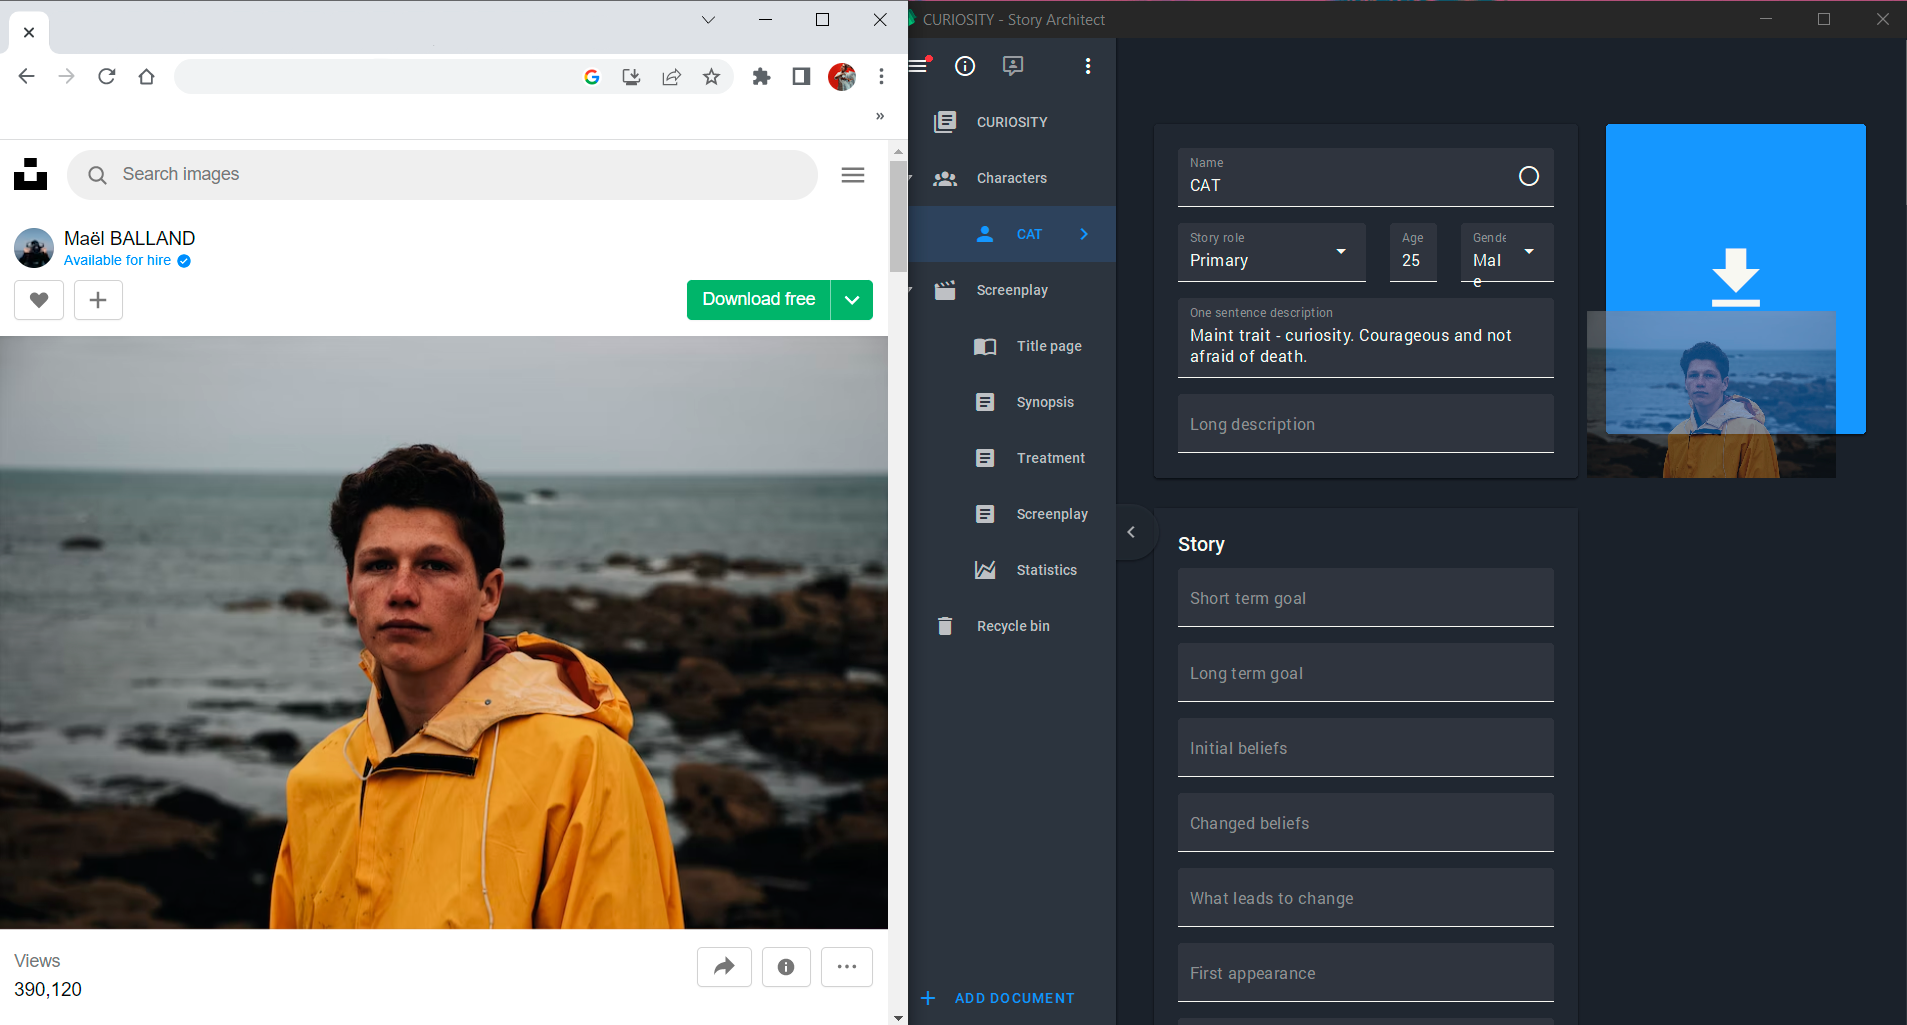
Another option is to "pull" the picture directly from the browser by right-clicking it and "drop" it into the window in Story Architect.
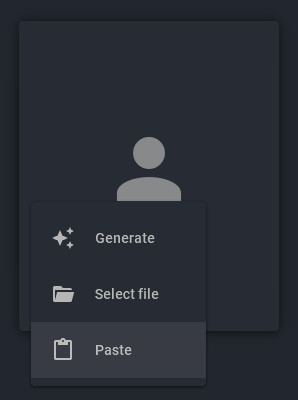
And another option is to copy the image in the source and paste it into the program by right-clicking on the “Add Photo +” window and selecting the "Paste" command.
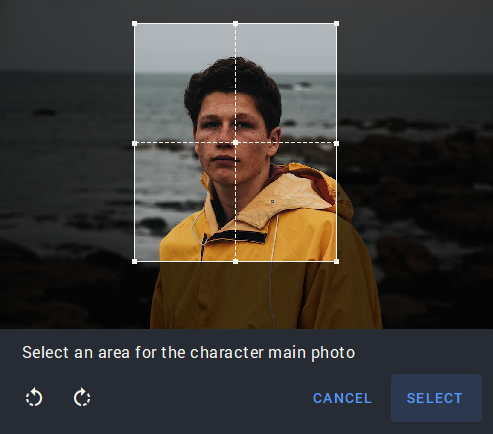
In any case, after adding a photo, there will appear a window where you can adjust the size of the picture. Set the desired one and click "Select".
Great, a picture of the character is up and running. But what if you don't want to raid the search engines by yourself? Then you should right-click on the window with the photo and select the "Generate" command.
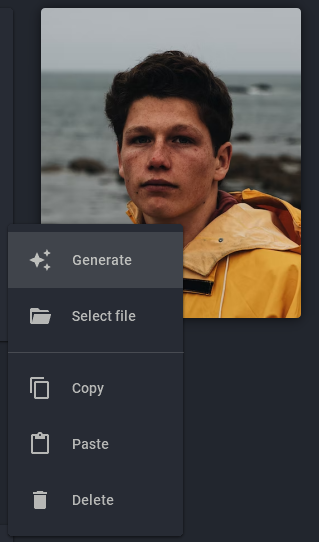
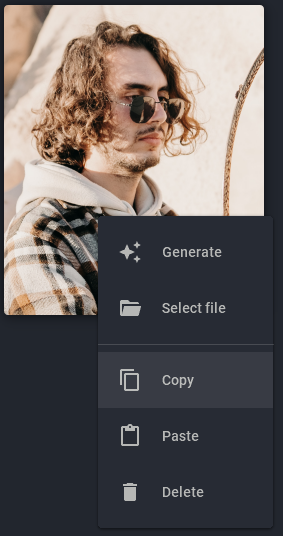
After you click this command, an automatic selection of stock photos based on the gender of the character will start. The generated photo can also be cropped, and then you can click "Select". The new photo appears in the corresponding window. Now, if we right-click on it, it can be copied and pasted into third-party editors, if there is a need for refinement.
All photo changes will also be reflected in the general "Characters" section, where there is a relationship map and a brief description of each character in the story.
Done! Now you'll be able to face your characters and understand them better, and maybe even pick up a dream cast for a future blockbuster. By the way, the characters’ relationship map can be saved as an image and, for example, printed out or shared with friends. In Story Architect, your fantasies are destined to become reality.